Hosted services for code coverage and quality metrics - part 2
December 14, 2016
Finishing of this series ended up taking longer than I initially thought. I got a little side tracked after my first post, Hosted services for code coverage and quality metrics - Part 1. Spent some time figuring out how the Codacy API worked, and wrote a blog post about that.
Check out Accessing your code quality metrics through the Codacy API if your interested in learning more about that.
Part 2
The objective in this series was to evaluate four different services that provide code coverage and quality metrics for your applications.
We had a simple set of requirements:
- Java support, preferably also javascript
- Code coverage calculated out as a % number that we can access through an API and display it on one of our status monitors.
- Test coverage is all fine and dandy, but we would also like something that will give us information regarding our codes overall quality, potential vulnerabilities, code improvements etc.
- Hosted service
Candidates
Codecov.ioCodacy.com- Codebeat.co
- Coveralls.io
So far we have covered Codecov and Codacy, so to finish of we will go through Codebeat and Coveralls.
Codebeat
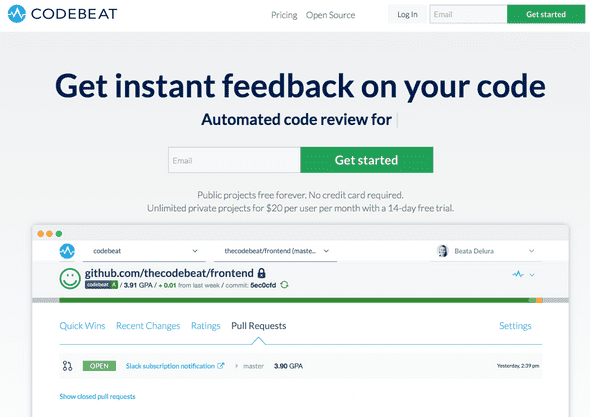
To get started with Codebeat head over too, https://codebeat.co/.
Codebeat supports our Java and Javascript applications, its free for public / open source projects. It easily connects with GitHub or Bitbucket. So far it looks good!
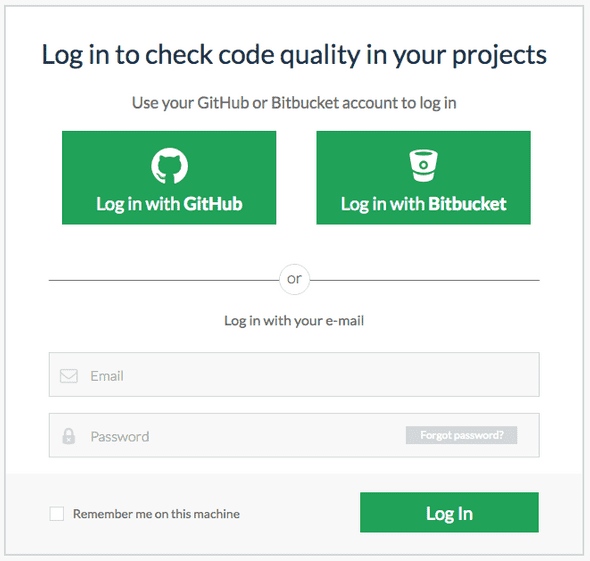
Press the “Log In” button at the top of the page to get taken to a page where you can access Codebeat through repository credentials.
As in the previous examples I will continue to use my Auth0 JWT Spring Boot repository hosted on GitHub. So I will use GitHub to register for Codebeat.
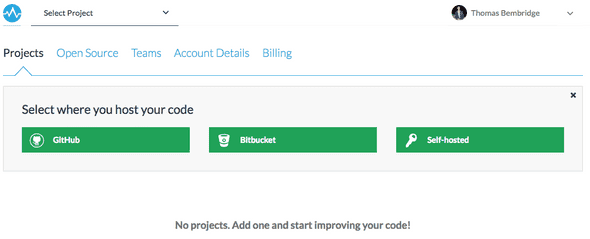
After the initial registration you need to select the repository that stores the code you want to add to Codebeat. So this actually means that you can register to Codebeat with credentials from GitHub, but still add projects from Bitbucket. Which is a nice touch!
Since the example I am going to use is open source I have to switch from the initial Projects option and over to Open Source.
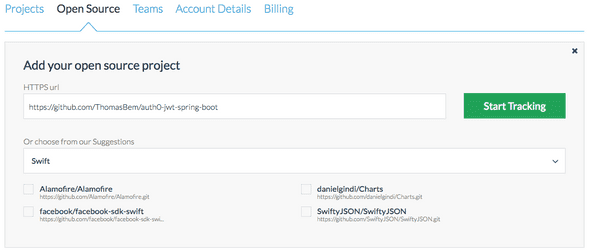
Once Open Source is selected, go ahead and add your project.
Your project will be added and Codebeat will start its initial analysis of your repository.
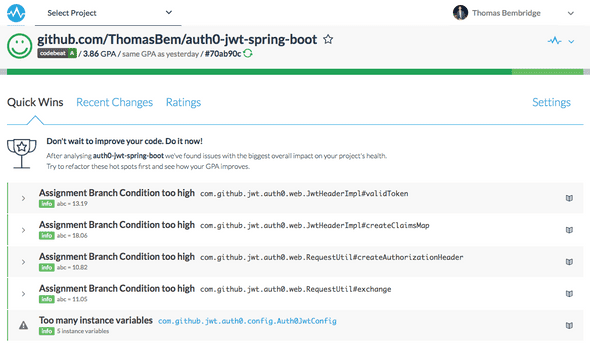
This analysis page did not seem to auto refresh in my case, so after waiting a few seconds hit refresh and you should see something like this.
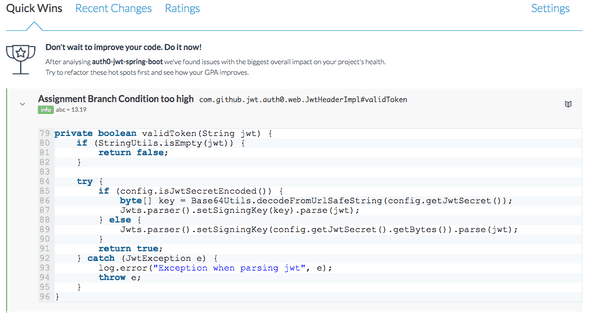
Quick Wins The Quick Wins page shows your the issues with the biggest overall impact to your projects health. You can click on each of the items listed to expand them and see the source code.
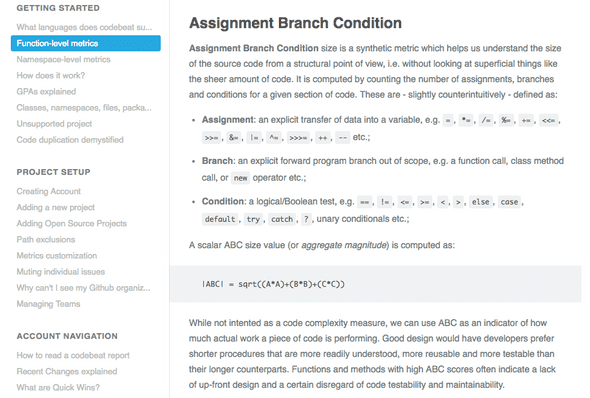
If you click on the little book icon on the right side of each issue you get taken to a page that explains the specific issue that Codebeat is reporting. This is nice to understand why its reporting something as an issue.
Recent changes I assume recent changes show you information for each commit done to the project since you added it to Codebeat. Which is why in my case the page is blank.
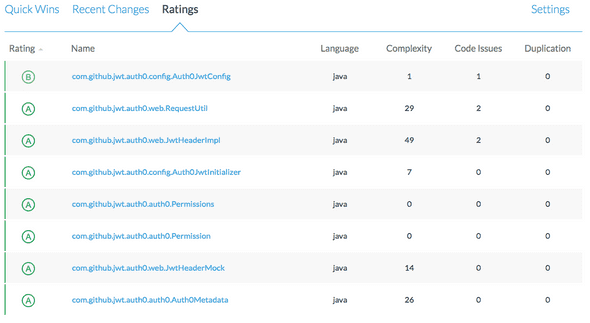
Ratings Ratings shows you all of the files in your project with a score, complexity rating, issues found and duplications.
Settings I would not call this option for Settings as all it contains are code snippets for adding the Codebeat badge to your repositories ReadMe page.
Trend Theres an option to the right of your applications name and statistics in the header. Clicking this icon expands the page and shows a placeholder for a trend / graph of your repositories statistics. This is again blank in my case as I have not done anything with this project since adding it to Codebeat.
Codebeat was very easy to get started with, but only covers the quality metrics part of our requirements. The issues section seems weaker than the alternative in Codacy, not to mention less flexible since there does not seem to be any options for changing or modifying rules.
Coveralls
To get started with Coveralls head over too, https://coveralls.io/.
About Coveralls:
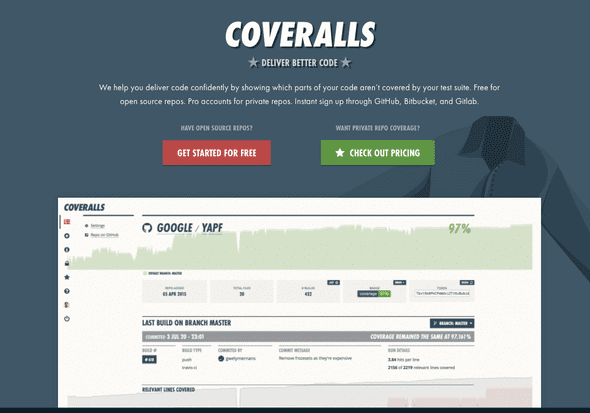
We help you deliver code confidently by showing which parts of your code aren’t covered by your test suite. Free for open source repos. Pro accounts for private repos. Instant sign up through GitHub, Bitbucket, and Gitlab.
So it works similar to our other alternatives. Free for OSS and lets you signup with the most common repository providers.
One thing that instantly caught my eye when looking through their page was their impressive list of customers. I think it says a lot if all of these have used or are still using Coveralls for their code coverage and quality metrics.
Lets get started!
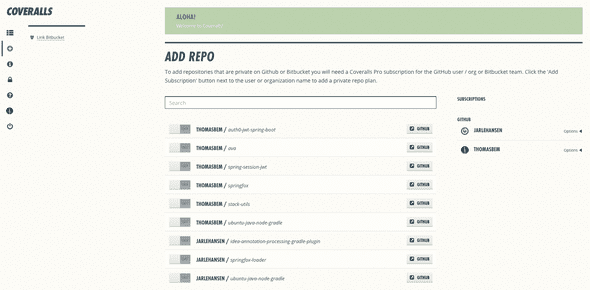
We are going to use the same example repository as in the previous section, so again im going to register using my GitHub credentials. After doing so you get presented with this initial screen where you see all the repositories you have access too.
Im going to flip the switch for Auth0-JWT-Spring-Boot as that’s the repository I will be working with.
Once this is done a details button appears for the repository. Pressing this takes you to a page describing how to setup Coveralls integration in Travis CI using Ruby.
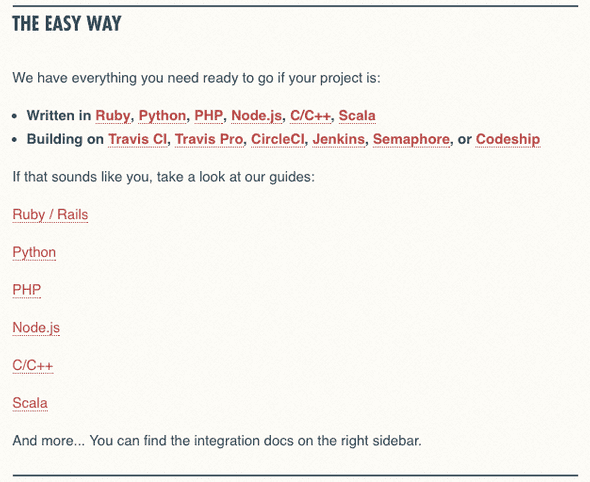
In our case we are using Travis, but we are using Java instead of Ruby. So we are going to take a look at the Coveralls documentation, Coveralls documentation.
It seems our use-case is not supported out of the box. But looking at the mentioned right sidebar we find a section for Java integration.
There is an open source Coveralls plugin available on GitHub that looks promising, Coveralls-Maven-Plugin. It has built-in support for Travis, and can use JaCoCo for coverage reports. Both of those cases fit perfectly with our setup. So we will give this a shot!
First we are going to add the plugin to our projects pom.xml file.
<plugin>
  <groupId>org.eluder.coveralls</groupId
  <artifactId>coveralls-maven-plugin</artifactId>
  <version>4.3.0</version>
</plugin>
Since we are using Travis CI we should not be required to add a repository token for Coveralls in the configuration setting for the plugin. So I have removed the configuration part of the plugin.
If you are using a different CI system than Travis on an open source project visible for anyone. Make sure that you add your Coveralls repository token to your CI´s environment variable configuration and not directly into your POM file. You should be able to refer to it like in the example below. Where MY_VARIABLE is the name of the property you setup in your CI system.
<plugin>
    <groupId>org.eluder.coveralls</groupId>
    <artifactId>coveralls-maven-plugin</artifactId>
    <version>4.3.0</version>
    <configuration>
        <repoToken>${env.MY_VARIABLE}</repoToken>
    </configuration>
</plugin>
Then in our travis.yml file we add a after_success step to push our code coverage report to Coveralls. Once this is done commit your changes and push so that we trigger a new build.
after_success:
  - mvn clean test jacoco:report coveralls:report
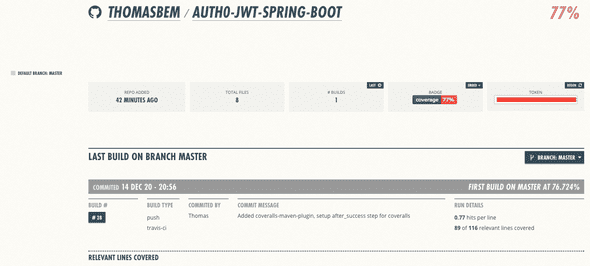
Once the build is finished you should have some new results in Coveralls under the repositories section.
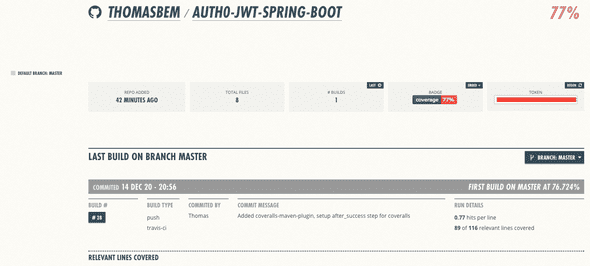
Opening up the repository shows us more details.
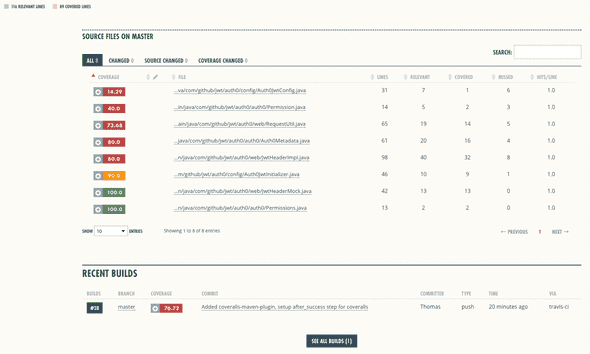
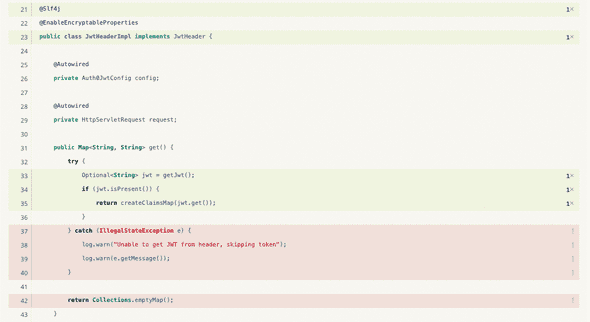
Coveralls will give us overall statistics for our repository. It will also similarly to the other options show our projects files with statistics per file. We can navigate into a specific file to see what lines are covered by tests and which lines are not.
Coveralls seems to be exactly the same as Codebeat, just with focus on code coverage and not code quality and issues. Truth be told i am a little dissapointed that this is all it provides after seeing that impressive list of customers. But I guess its a tool focused on code coverage and it does deliver on that!
Summary
All four candidates I have tried are fairly similar in terms of how they function at a high level. They all integrate nicely with GitHub and Bitbucket, and sometimes even more options than that.
They are free to use for open source projects, but they support private repositories if you go for a paid subscription.
It required very little setup to get started with either of them for my example project using Travis CI and Java. Here is my entire travis.yml file integrating the three services that required any setup, Codecov, Codacy and Coveralls.
language: java
jdk:
 - oraclejdk8
before_install:
 - curl -sL https://github.com/jpm4j/jpm4j.installers/raw/master/dist/biz.aQute.jpm.run.jar >jpm4j.jar
 - java -jar jpm4j.jar -u init
 - ~/jpm/bin/jpm install com.codacy:codacy-coverage-reporter:assembly
install: true
script:
 ./mvnw package
after_success:
 - bash <(curl -s https://codecov.io/bash)
 - ~/jpm/bin/codacy-coverage-reporter -l Java -r target/site/jacoco/jacoco.xml
 - mvn clean test jacoco:report coveralls:report
Based on the requirements we had when going into this for me the clear winner is Codacy. It ticks of every single requirement that we had for a coverage and quality metrics service.
Java support, preferably also javascriptCode coverage calculated out as a % number that we can access through an API and display it on one of our status monitors.Test coverage is all fine and dandy, but we would also like something that will give us information regarding our codes overall quality, potential vulnerabilities, code improvements etc.Hosted service
It gives us the code coverage metrics we wanted out from their API, even though it was a bit tricky to figure out at first…
The issues section in Codacy supports both Java and Javascript so it covers our current tech stack. It is also configurable so that we can make it fit to our code style.
So based on this we are going to continue using Codacy at work to measure our coverage and quality metrics. I will also keep using it for my open source needs.
I hope this was an informative series and that it inspired you to get started using some tools to measure your own code coverage and quality metrics. If you start using any of the services mention here, or maybe something I have yet to try. Please let me know how it goes! :)
Written by Thomas Bembridge Software Developer working at SpareBank 1 in Norway. Opinions and ideas shared through this blog are my own. Follow me on Twitter!
